

Denim texture
INTRODUCTION
Searching for the perfect texture can put enormous strain on your project schedule. With Pixelmator you can overcome this setback by crafting your own textures and patterns. Create a realistic denim fabric texture.
The Paint Bucket Tool, Effects and other features of Pixelmator are used in this tutorial.

RESOURCES
 PXM File
STEP 1
Open Pixelmator and create a new document. The image size used in this tutorial is 900×600 pixels. Next, select the Paint Bucket Tool (N) and fill the “Background Layer” with blue (color code – #1f334b).

STEP 2
Now, render a continuous pattern of slanted stripes. First, create a new layer and name it “Bars”. Then, choose View > Show Effects to open the Effects Browser. Choose the Generator group in the Effects Browser and double-click the Bars thumbnail. Set Width to 2 px and click OK. Next, choose Edit > Transform. Rotate the selection by 20º and increase the size to 150% so that the pattern fills the canvas. The result should look similar to the image below.

STEP 3
Next, add some grain to the pattern. Choose the Stylize group in the Effects Browser and double-click the Snow thumbnail. Check if Strength is set to 60% and click OK. Then, double-click the Noise thumbnail. Set the Amount to 25% and click OK. Finally, change the layer’s Blending to Multiply.

STEP 4
Add some diversity to the pattern. First, duplicate the “Bars” layer. Then, change the new layer’s Blending to Hard Light. Choose the Blur group in the Effects Browser and double click the Motion thumbnail. Check if the Amount is set to 20 px and click OK. Finally, reduce the “Bars copy” layer’s Opacity to 20%.

STEP 5
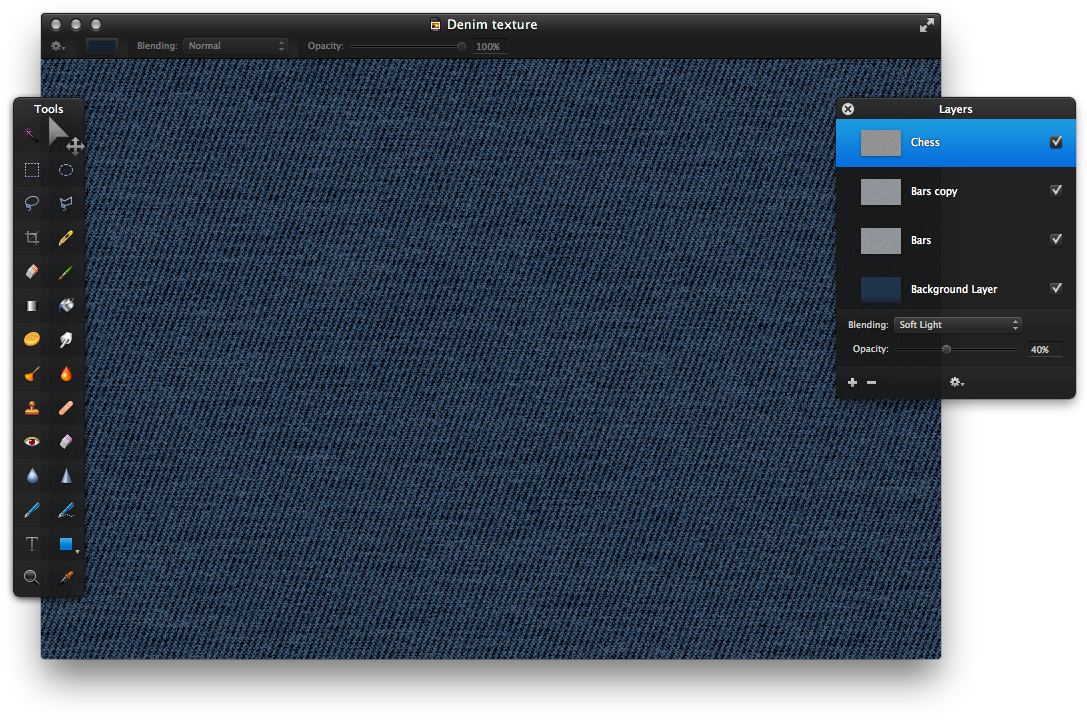
Next, create a woven fabric effect. First, create a new layer and name it “Chess”. Then, choose the Generator group in the Effects Browser and double-click the Chess thumbnail. Set Width to 2 px and click OK. Now, apply Snow and Noise effects using the same settings as in step 3. Finally, change the “Chess” layer’s Blending to Soft Light and reduce the Opacity to 40%.
STEP 6
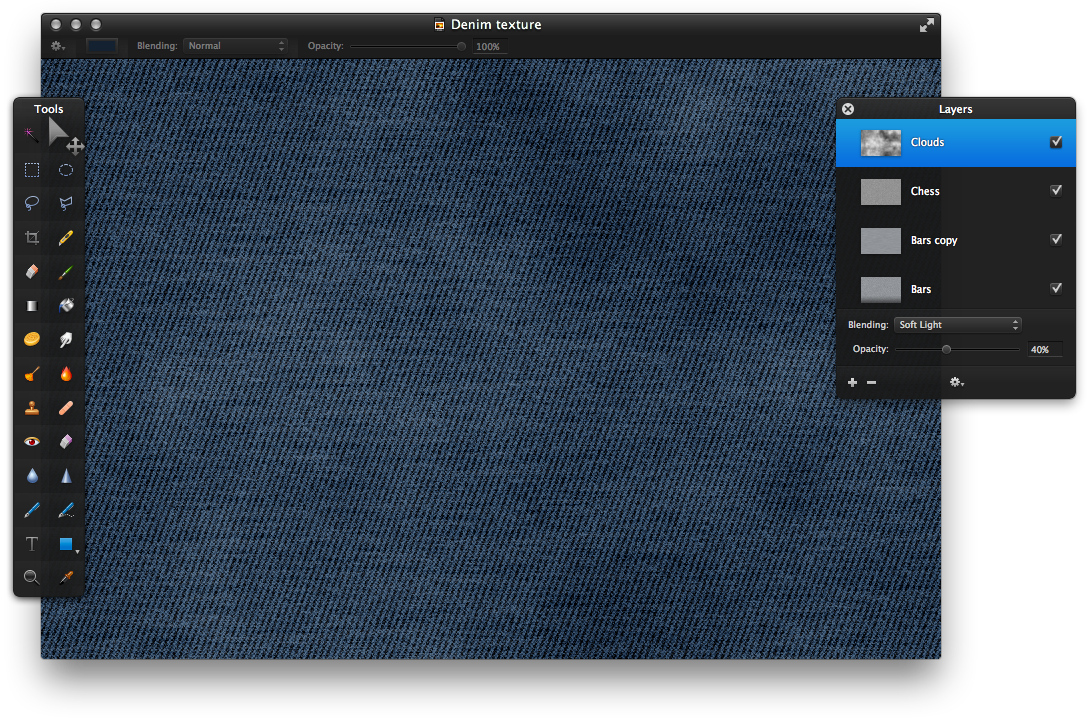
Apply the Clouds effect to make the denim appear faded in places. Create a new layer and name it “Clouds”. Then, choose the Generator group in the Effects Browser. Double-click the Clouds thumbnail and click OK. Change the layer’s Blending to Soft Light and reduce the Opacity to 40%. The result should look similar to the image below.
STEP 7
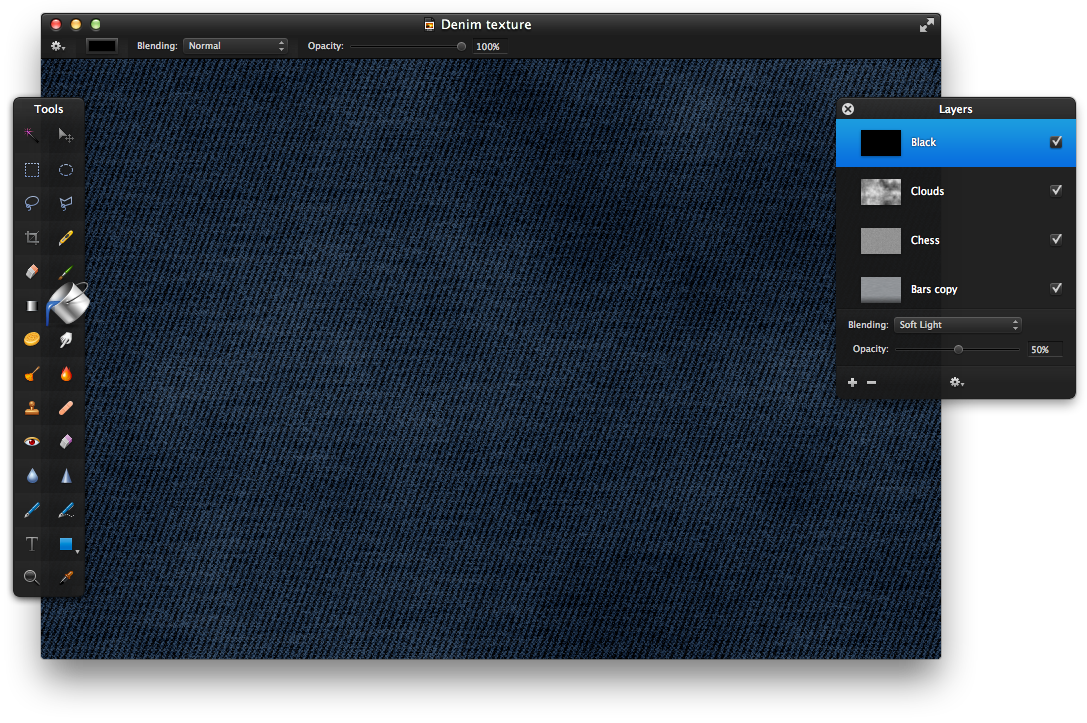
As a finishing touch, darken the colors of the texture. Create a new layer and name it “Black”. Use the Paint Bucket Tool (N) to fill the layer with black. Then, change the Blending to Soft Light and reduce the Opacity to 50%.
CONCLUSION
That’s it! Creating high quality textures with Pixelmator is a piece of cake! Also, some parts of this tutorial, such as color of the Background Layer, can be tweaked to produce textures of different fabrics. Create a realistic image like in the example below with just minor adjustments and some help from Gradient and Brush Tools.
