

Inspirational poster
INTRODUCTION
Once in a while everybody feels a lack of motivation that restricts enthusiasm. However, this can be overcome by inspiration from truly moving words orated by renowned individuals. Follow this tutorials to create a stimulating poster.
The Layer Masks, the Type Tool, Layer Blending and other features of Pixelmator are used in this tutorial.
RESOURCES
 PXM File
 Stock photo (Wrinkled paper) by Pink Sherbet Photography
STEP 1
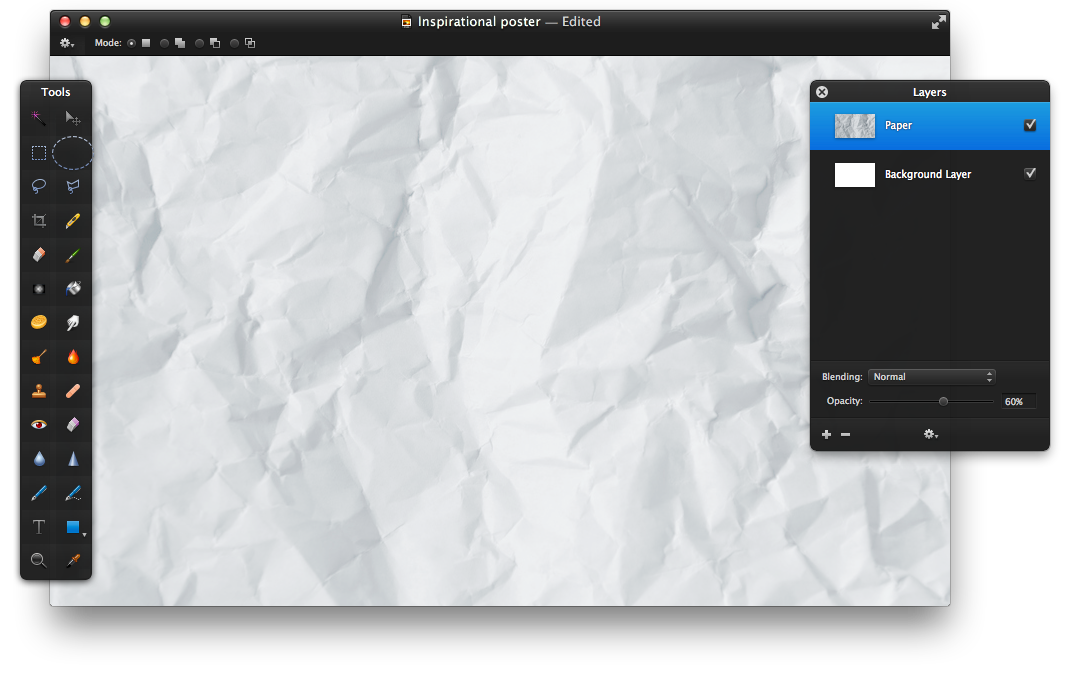
Open Pixelmator and create a new document. The image size used in this tutorial is 900×550 pixels. Copy and paste the image of the wrinkled paper that will be used as the background image. To lighten the image, go to Edit>Levels and set the Gray to 20%. Then, reduce the Opacity of the layer to 60%.
STEP 2
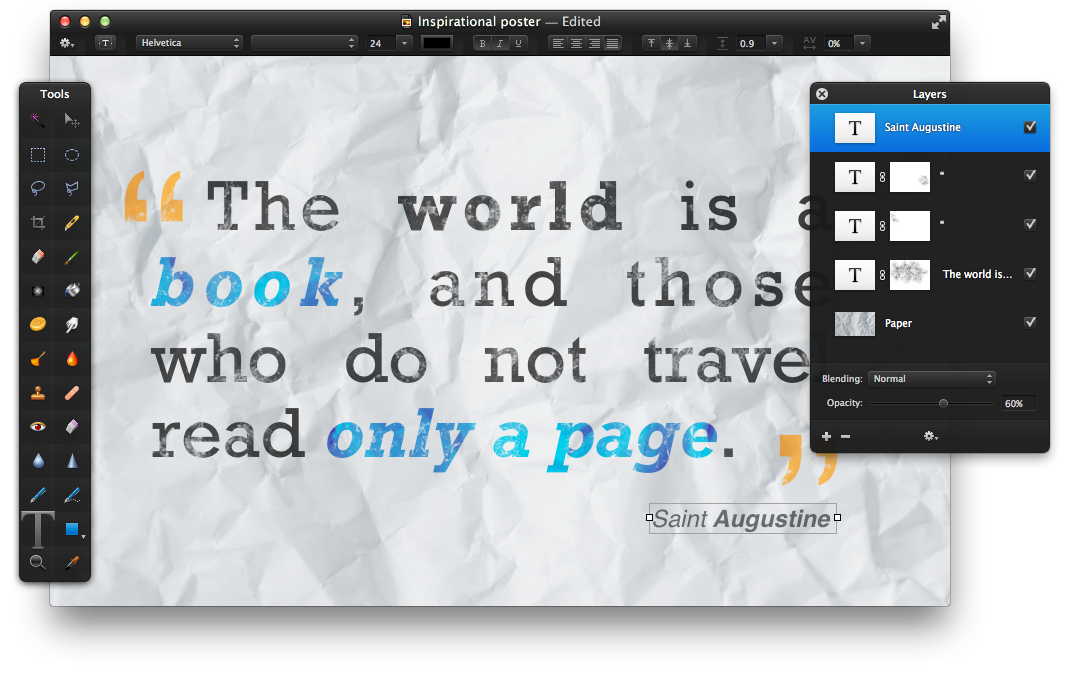
Next, create a new text layer for the motivational text. Use Rockwell as the font, black as the color and 72 px as the font size. After that, type in the motivational text and add a space before the first word to make the text indented. Also, justify the text so that it looks neat and tidy. If needed, use the Move Tool (V) to position the quote in the middle of the canvas.

STEP 3
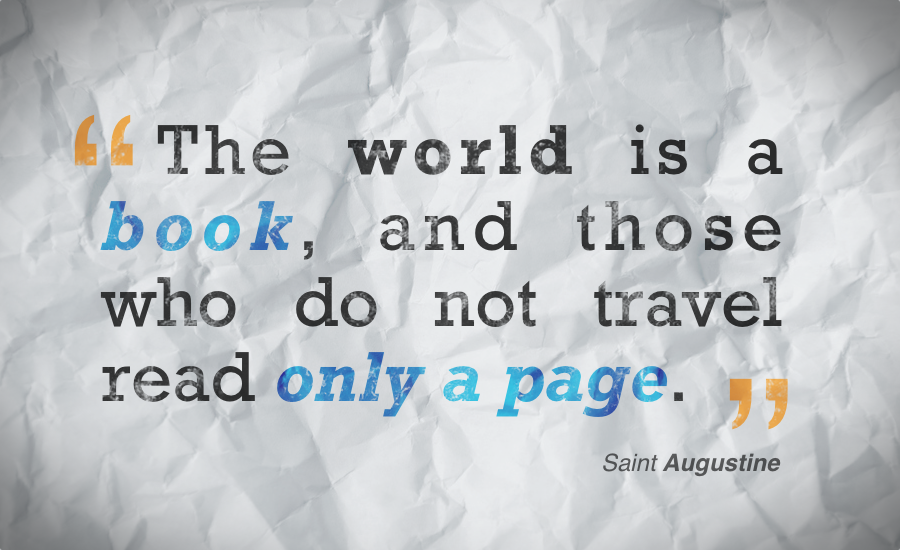
Next, edit the text to make the more important word stand out. Set the font style of the words “book” and “only a page” to Bold Italic and change their color to blue (color code – #002244). Also, change the font style of the word “world” to Bold.

STEP 4
Now let’s add a wear and tear effect to the text. Right-click the text layer and choose Add Mask. Next, select the Brush Tool (B) and open the Brush Palette (View>Show Brushes). Click the Action button in the palette and choose Grunge. Then, select the brush that’s situated second from the left on the top row and set it’s size to about 250px. Use this brush to add scratch marks on the text. Before using the brush, make sure that the layer mask is selected in the Layers Palette.

STEP 5
To make the text appear faded, set the text layer’s Blending to Vivid Light and reduce the Opacity to 80%. Changing the Blending to Vivid Light will also make the highlighted words even more distinct.

STEP 6
Now it’s time to add the quotation marks. Select the Type Tool (T) and create two separate layers consisting of smart quotation marks. Make sure to align them to the text as shown in the example below. Use Lucida Grande as the font, 200px as the font size and yellow as the color (color code – #bd5512)

STEP 7
Follow step 4 to make the quotation marks appear worn. Then, set the Blending to Hard Light and reduce the Opacity to 80%.

STEP 8
Make sure to credit the author of the quote. To do that select the Type Tool (T) and create a new text layer. Choose Helvetica as the font, black as the color and 24 px as the font size. Then, type in the author of the quote, in this case Saint Augustine, and use the Move Tool (V) to align this layer to the text of the quote. To differ this layer from the text in the quote, use Oblique as the font style for the word Saint and Bold Oblique for the word Augustine. After that, reduce the layer’s Opacity to 60%.
STEP 9
As a finishing touch, add a vignette effect to the current composition. To do that create a new layer and name it Vignette. Use the Paint Bucket Tool (N) to fill the layer with black color and then select the middle part of the layer using the Polygonal Lasso Tool. Go to Edit>Refine Selection, set the Feather to 70%, Size to 70 px and click OK. Then, delete the selection by pressing the Delete key on your keyboard. Lastly, reduce the layer’s Opacity to 50%.

CONCLUSION
Meaningful and inspirational words can have a big influence on a person’s productivity. Create inspiring posters that deliver a spur of creativity and encourage efficiency of others and yourself.