
Note paper
INTRODUCTION
At some point in time every graphic designer struggles when searching for the ideal stock photograph. In some cases this chore can be easily avoided. Pixelmator comes equipped with tools that will help you create a lifelike image of the object you fancy. Create a detailed image of a note.
The Gradient Tool, Marquee Tools, Effects and other features of Pixelmator are used in this tutorial.

RESOURCES
 PXM File
STEP 1
Open Pixelmator and create a new document. The image size used in this tutorial is 900×600 pixels. Next, select the Paint Bucket Tool (N) and fill the “Background Layer” with beige color (color code – #e5b669). Then, create a new layer and name it “Noise”. Open the Effects Browser by choosing View > Show Effects. Choose the Stylize group in the Effects Browser and double-click the Noise thumbnail. Set Amount to 100% and click OK. Next, choose the Blur group in the Effects Browser and double click the Median thumbnail. Finally, change the “Noise” layer’s Blending to Soft Light and reduce the Opacity to 30%.

STEP 2
Now, create a new layer and name it “Gradient”. Choose View > Show Gradients to open the Gradients Palette. Double-click the gradient that is situated first from the left on the third row and change the Gradient Type to Radial. Use Gradient Tool (G) to fill the “Gradient” layer as in the example below. Finally, change the layer’s Blending to Soft Light.

STEP 3
Next, create the base for the note. Create a new layer and name it “Note”. Use the Rectangular Marquee Tool (M) to make a selection as in the example below. Then, use the Paint Bucket Tool (N) to fill the selection with white.

STEP 4
Now, make the outline of the paper wavy. Choose the Distortion group in the Effects Browser and double-click the Twirl thumbnail. Set Radius to 350 px and Angle to 10º. Then, use the rope to point to the right side of the paper as in the example below. Click OK.
Next, add some rip and tear to the edges of the paper. Select the Distortion group in the Effects Browser and double-click the Glass thumbnail. Set Scale to 20 px and click OK.

STEP 5
Add some punched-in holes to the left side of the note. First, Control-click the “Note” layer and choose Add Mask from the shortcut menu. Then use the Elliptical Marquee Tool (Y) to make a circular selection on the left side of the note. Next, select the Rectangular Marquee Tool (M) and change the Mode to Add to selection in the Tools Options Bar. Select a rectangular area that intersects with the circle. Use the image below as a reference. Then, use the Paint Bucket Tool (N) to fill the selection with black in the layer’s mask.
Finally, repeat these actions multiple times until the left side of the note is filled with punched-in holes.

STEP 6
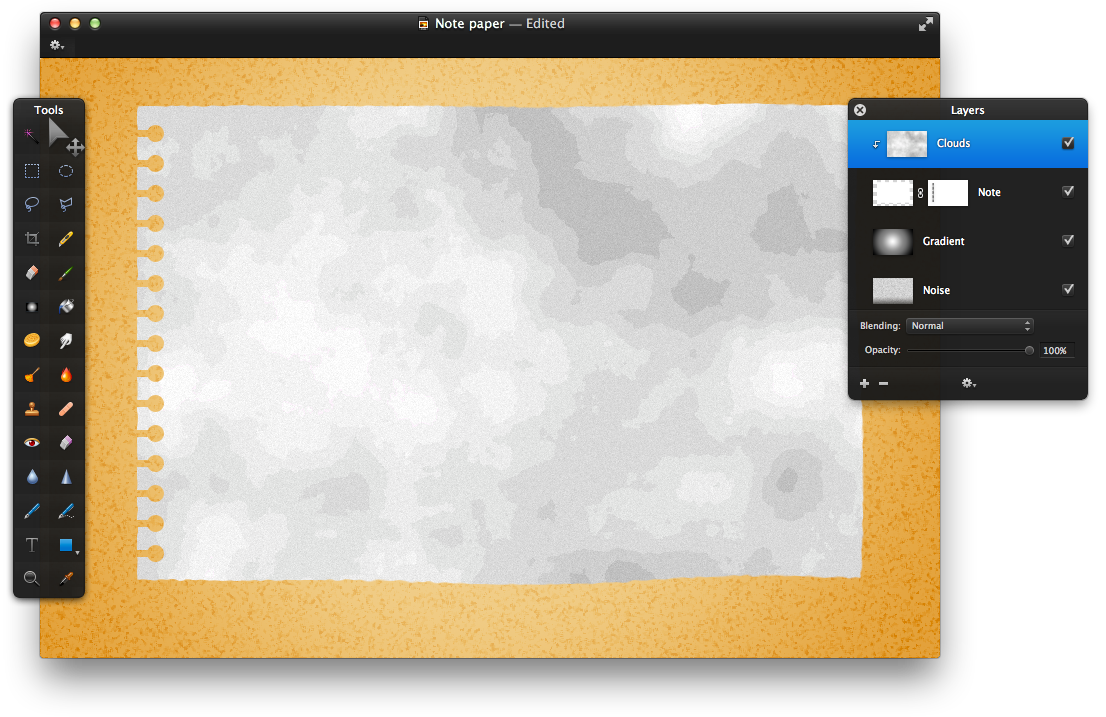
Now, add some shadows to the piece of paper. Create a new layer and name it “Clouds”. Control-click the new layer and choose Create Clipping Mask from the shortcut menu. Next, choose the Generator group in the Effects Browser. Double-click the Clouds thumbnail and click OK. Then, choose the Other group in the Effects Browser and double-click the Solarize thumbnail. Set Levels to 10 and click OK. Now, choose the Color Adjustments group in the Effects Browser and double-click the Brightness thumbnail. Set Brightness to 30% and Contrast to -70%. Click OK. Next, choose the Stylize group in the Effects Browser and double-click the Noise thumbnail. Set the Amount to 4% and click OK. Finally, reduce the layer’s Opacity to 60%.
STEP 7
Add some lines to the note paper. First, make the gridlines appear by choosing View > Show Grid. Next, create a new layer named “Lines” and Control-click it. Choose Create Clipping Mask from the shortcut menu. Now, select the the Rectangular Marquee Tool (M) and choose Add to selection Mode in the Tools Options Bar. Make selections of 2 px height lines every three gridlines. Then, use the arrow keys on your keyboard to align the selections to the center of every punched hole. Use the image below as a reference. Next, choose Edit > Fill and fill the selection with black. Finally, reduce the “Lines” layer’s Opacity to 10%.

STEP 8
Now, add a red margin line. Create a new layer and name it “Red line”. Control-click the layer and choose Create Clipping Mask from the shortcut menu. Use the Rectangular Marquee Tool (M) to select a vertical line that’s 2 px in width. Choose Edit > Fill and fill the selection with red color (color code – #800000). Then, reduce the layer’s Opacity to 50%.

STEP 9
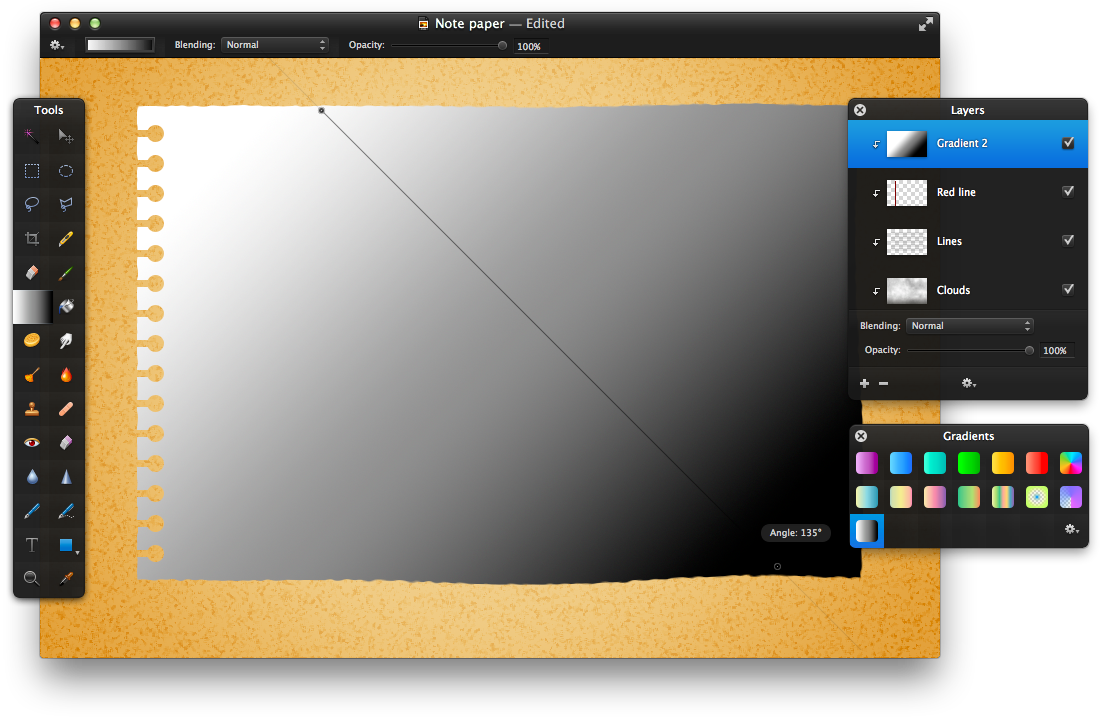
Next, create a new layer and name it “Gradient 2”. Right-click the layer and choose Create Clipping Mask from the shortcut menu. Use the Gradient Tool (G) to fill the layer with a white-to-black linear gradient as in the example. Then, change the Blending to Soft Light and reduce the Opacity to 80%.
STEP 10
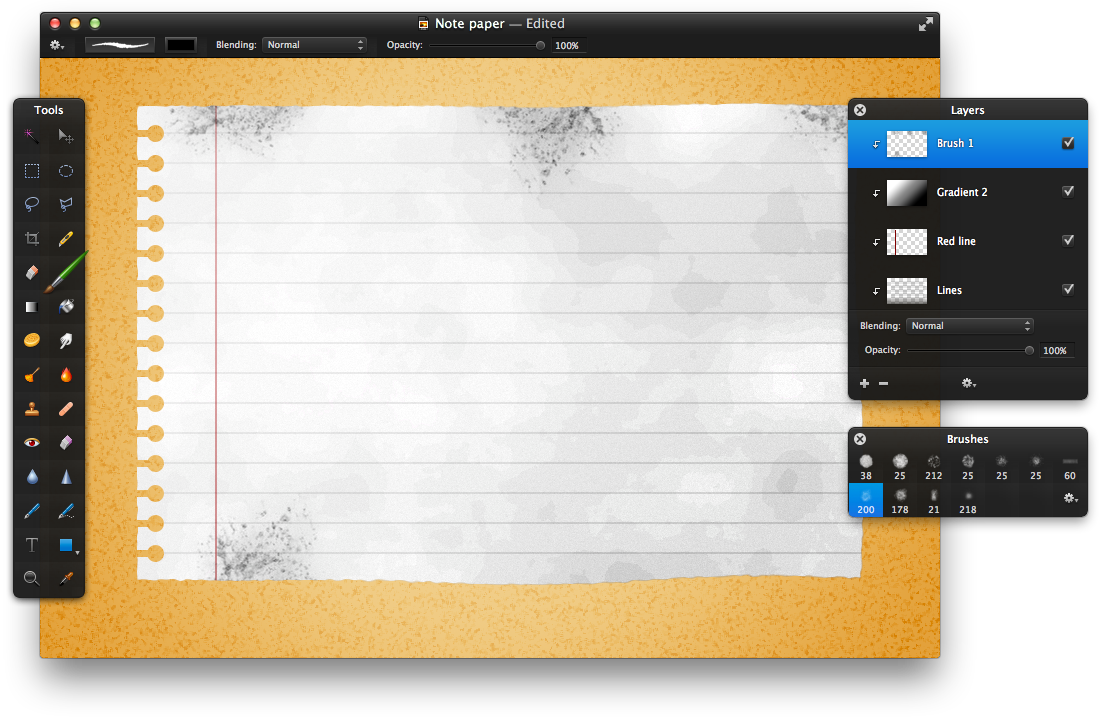
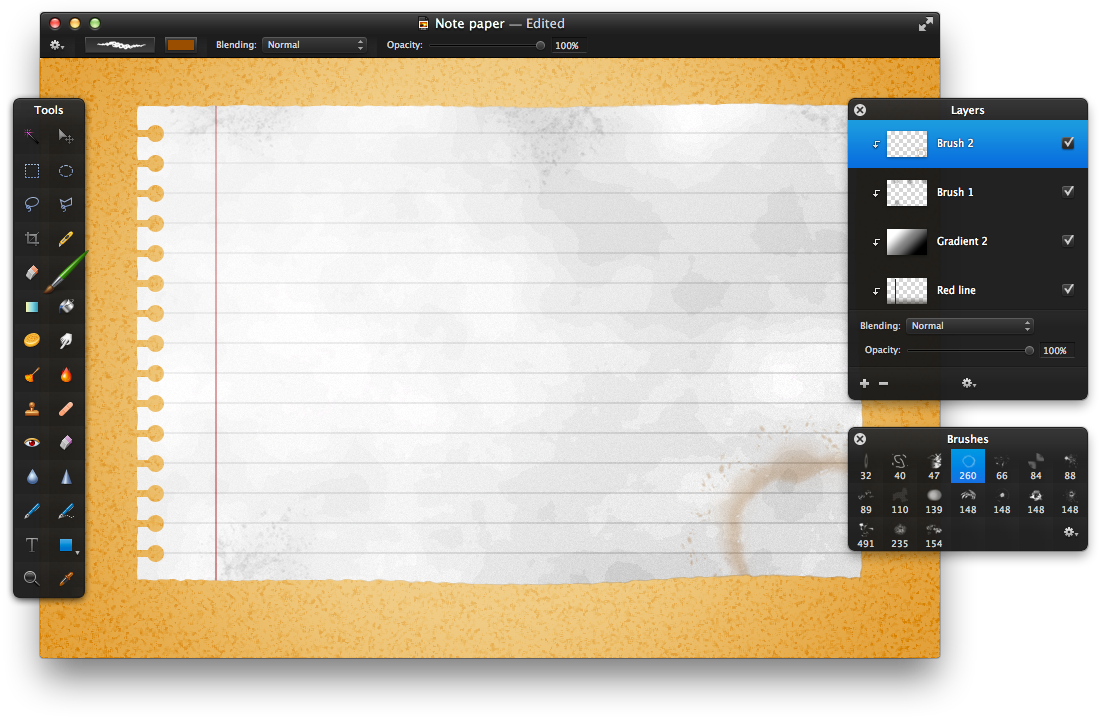
Now make the paper appear worn by adding blotches of ink. First, create a new layer and name it “Brush 1”. Control-click the layer and choose Create Clipping Mask from the shortcut menu. Then, open the Brushes Palette by choosing View > Show Brushes. Click the Action button in the palette and choose Artistic from the menu. Select the brush that is situated first from the left on the second row. Now, use the Brush Tool (B) to splatter some black ink near the edges of the paper. Use the image below as a reference. Finally, reduce the “Brush 1” layer’s Opacity to 30%.
STEP 11
Add a coffee cup stain on the lower right corner of the note. Click the Action button in the Brushes Palette and choose Abstract from the menu. Then select the brush that is situated fourth from the left in the first row and set the brush size to 260 px. Use the Brush Tool (B) to add a brown (color code – #804000) coffee stain as in the example below.
STEP 12
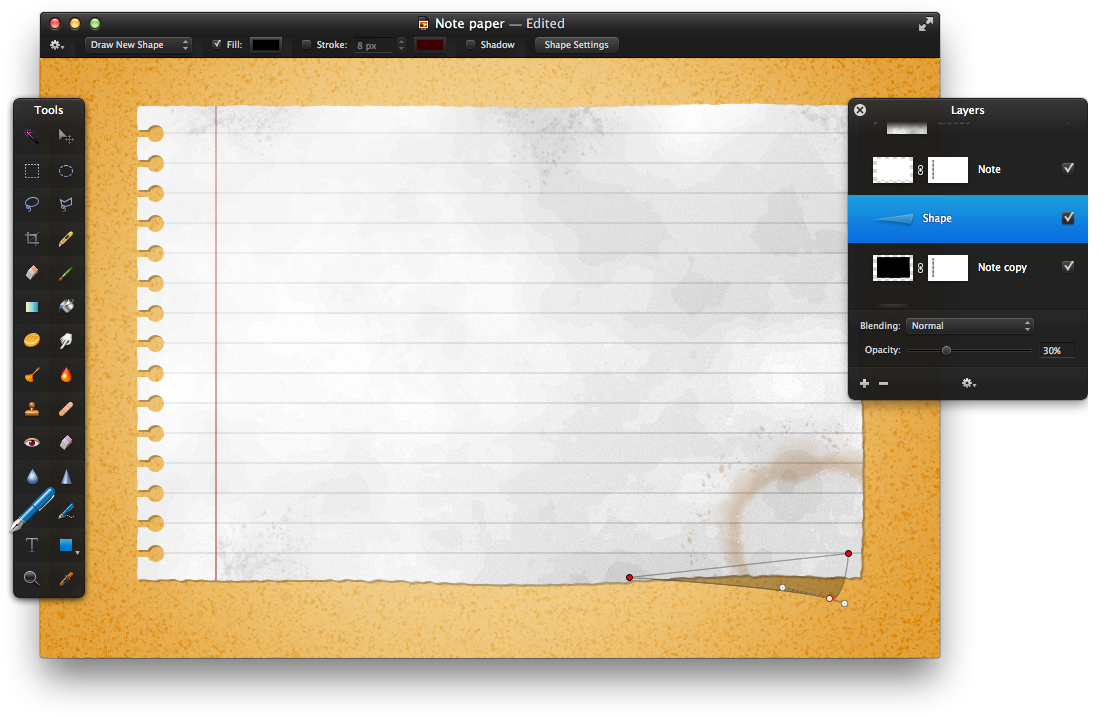
Complete the composition by adding a shadow effect. First, duplicate the “Note” layer and position the copy layer below the original in the Layers Palette. Then, invert the colors of thxe “Note copy” layer. Choose the Color Adjustments group in the Effects Browser and double-click the Invert thumbnail. Next, select the Move Tool (V) and use the arrow keys on your keyboard to move the “Note copy” layer 2 pixels down and to the right. Reduce the layer’s Opacity to 30%.
Now select the Pen Tool and draw a black triangular shape near the lower right corner of the note paper. Then, double-click the lower point of the shape to smoothen it. Make the shadow concaved by adjusting the handles of the point. Use the image below as a reference. Finally, reduce the “Shape” layer’s Opacity to 30%.
CONCLUSION
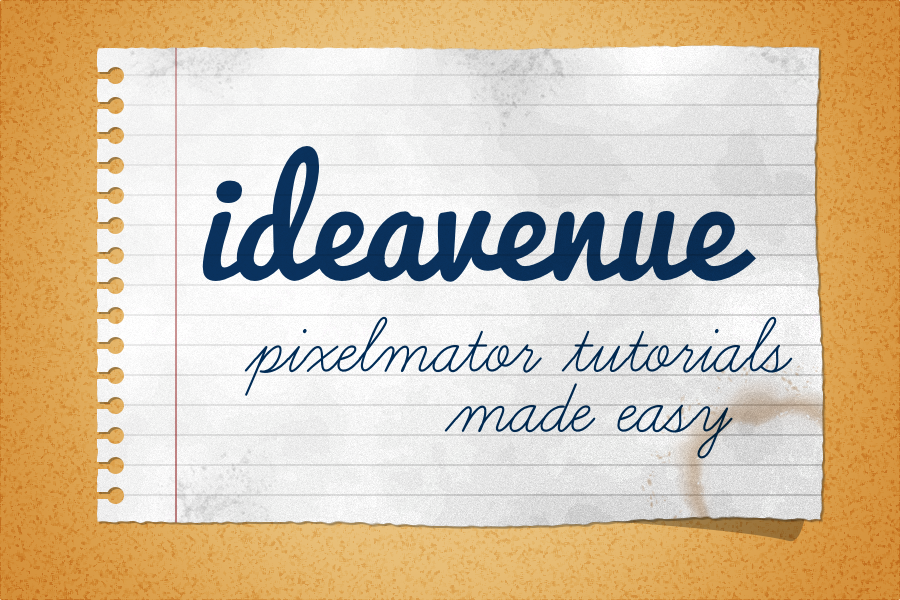
Congratulation’s – you’re done! Once you master the art of creating lifelike images, they can be used in your artwork. Below is an example of note scribbled down on a worn piece of paper.
